In the age of innovation and technological marvels, we are constantly on the lookout for the next big thing that will shake the world. The ceaseless pursuit of renewable energy resources brings forth an idea for a machine that has intrigued inventors and engineers for centuries: the perpetual motion machine. This seemingly magical concept is the stuff of dreams, promising an inexhaustible source of energy that operates continuously, without the need for external input. Our DIY guide will attempt to explain the process of building your own perpetual motion machine using everyday, off-the-shelf parts.
Before diving into the steps of our grand construction, it's crucial to set expectations right. Although numerous historical schematics have surfaced over time, a true perpetual motion machine has never been proven to work in a sustained manner, as it defies the laws of thermodynamics. Nevertheless, our mission remains a fun and insightful exploration of this infatuating idea.
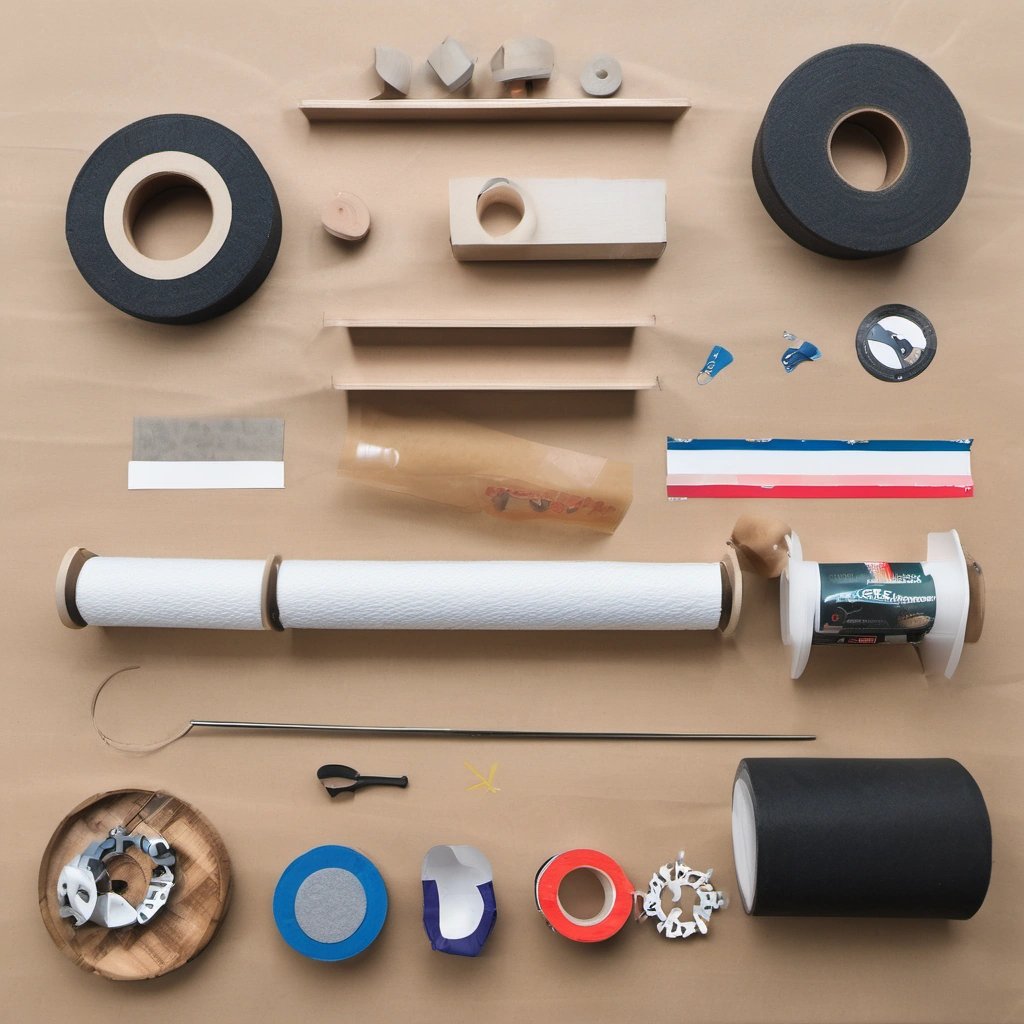
To begin, gather the following list of necessary materials that can be sourced from your local hardware store or found around your household:
A smooth, horizontal surface (such as a tabletop or a floor)
A large-scale horizontal wheel (a bike wheel serves splendidly)
Several strong magnets (the more, the better!)
An evenly distributed weight (preferably lightweight, like Styrofoam or lightweight wood)
Glue
Duct tape
Once your materials are assembled, follow the steps below to build the perpetual motion machine:
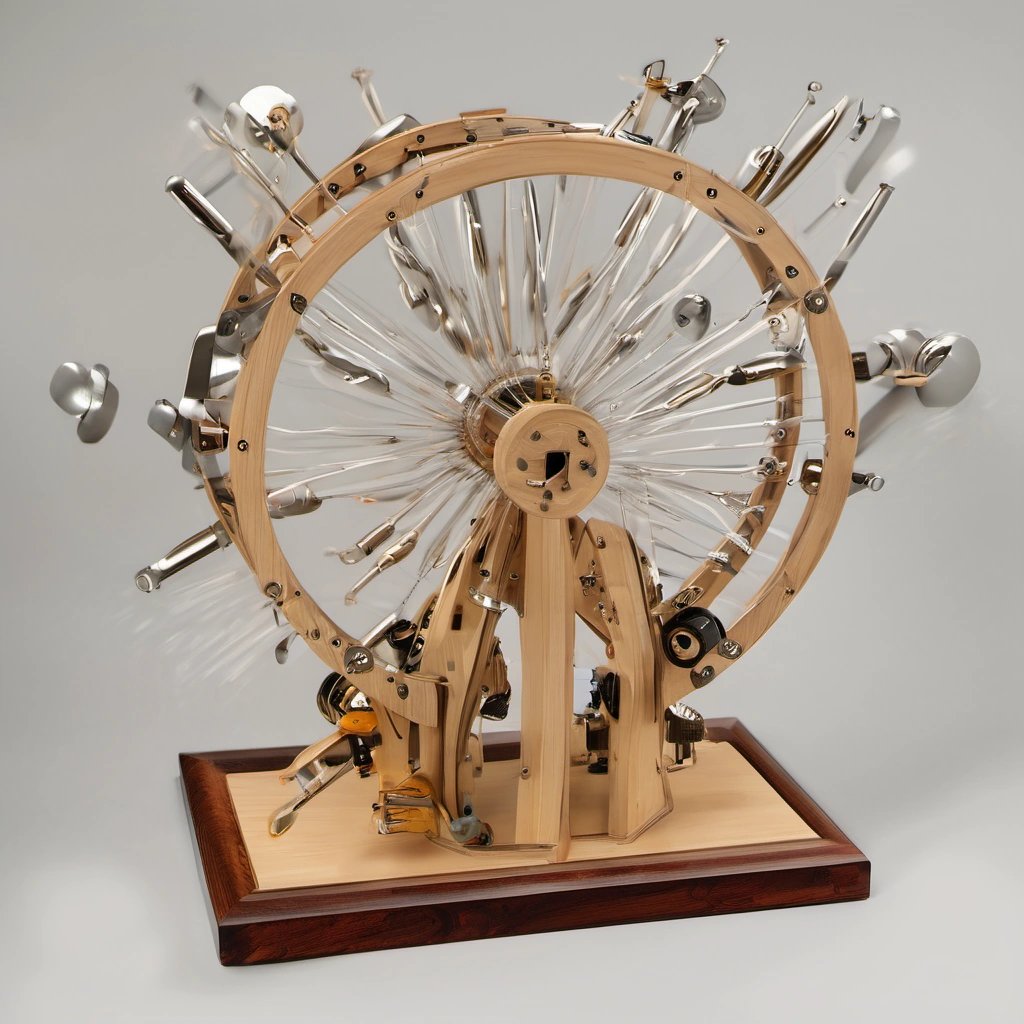
Step 1: Attach your large-scale horizontal wheel to a secure base that allows for smooth and unrestricted rotation. Ensure that the positioning of the wheel is stable and level, as this will be key in achieving the intended perpetual motion effect.
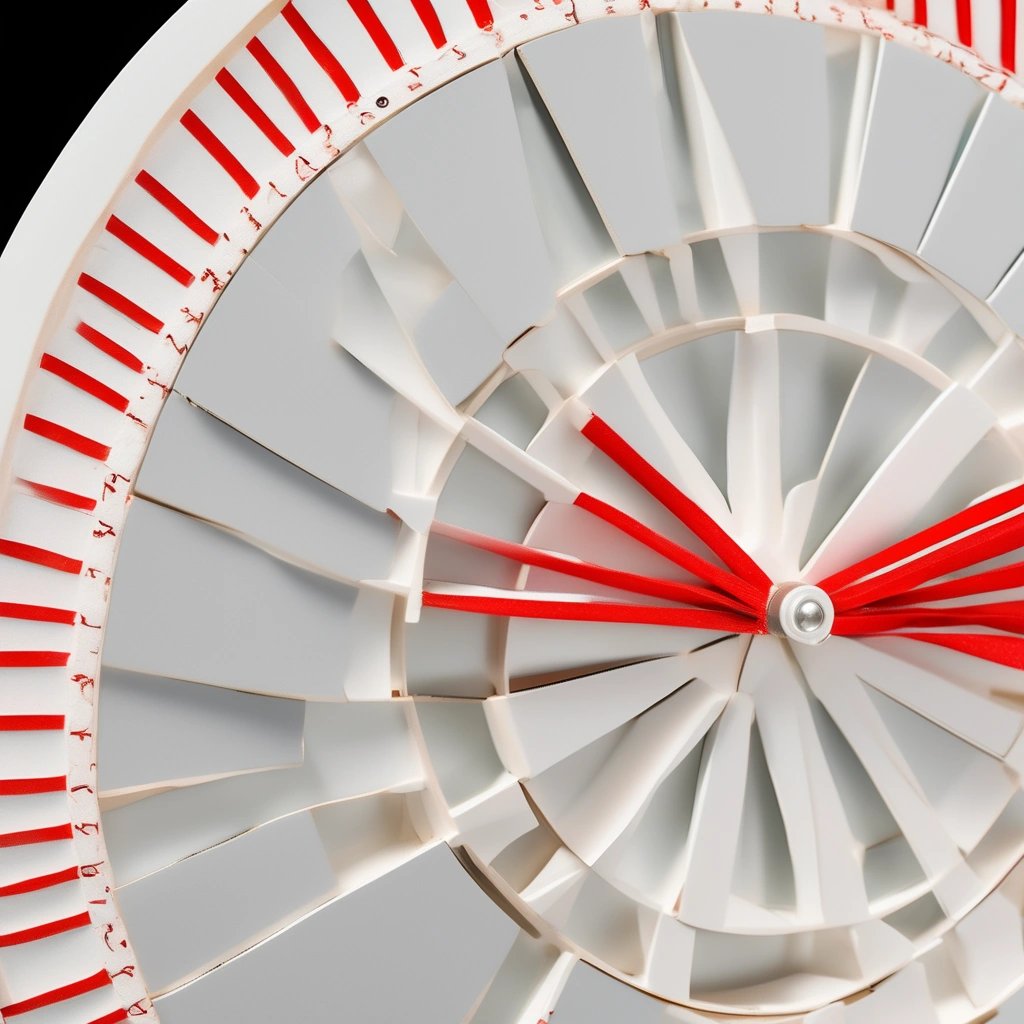
Step 2: Divide the circumference of your wheel into equal sections, with one magnet assigned to each section. Ideally, plan for around 8-12 sections, depending on the size of your wheel and magnets.
Step 3: Employing the magnets' inherent magnetic force, attach them to the rim of the wheel in equally spaced intervals, all facing the same direction. This is to create a smooth repulsive force as the wheel rotates.

Step 4: Prepare your evenly distributed weight, such as the Styrofoam or wood mentioned earlier, by cutting it into strips. These strips will act as deflectors mounted on the wheel to guide the motion of the magnets.
Step 5: Secure the strips to the wheel by placing them close to the magnets using glue. Ensure that the strips are positioned diagonally relative to the magnets, guiding their path in a way that propels the wheel forward continuously. This will ensure that the repulsive force applied by the magnets constantly pushes the wheel.
Step 6: Use duct tape to reinforce the connections between the wheel, magnets, and deflectors, ensuring they remain secure and intact throughout the machine's operation.
Now, your perpetual motion machine is all set! Give it a gentle nudge to start the motion and marvel at the theoretical endless cycle this device represents.
However, keep in mind that while the machine might appear to function flawlessly at first, it is likely to lose momentum and come to a halt eventually due to multiple factors such as friction and air resistance. Unfortunately, the laws of thermodynamics appear to persist in their stubbornness.
Regardless, the construction of this perpetual motion machine has hopefully provided an entertaining DIY project that sparks curiosity about the possibilities of renewable energy and alternative power sources. Perhaps one day, scientific advancements may allow us to harness technologies that draw closer to the elusive perpetual motion that has captivated minds for centuries. Until that day, cherish your newly crafted device as a testament to human ingenuity and creativity.